 Android (Deep Learning)
In this tutorial, we’ll go through how to use a deep learning algorithm that predicts the make and model of a car from a picture we take on Android.
The full sample code can be found in the GitHub repo: FORK
You can either clone the repo directly and follow along with the README instructions to see the fully complete app, or you can follow the tutorial below to build an Android app that utilizes deep learning.
We’ll use the native Camera2 API to take a picture of a car, then we’ll use the Car Make and Model algorithm on Algorithmia to process the image in order to display the car’s make and model along with other metadata.
Getting Started
First things first, let’s create a new app in Android Studio.
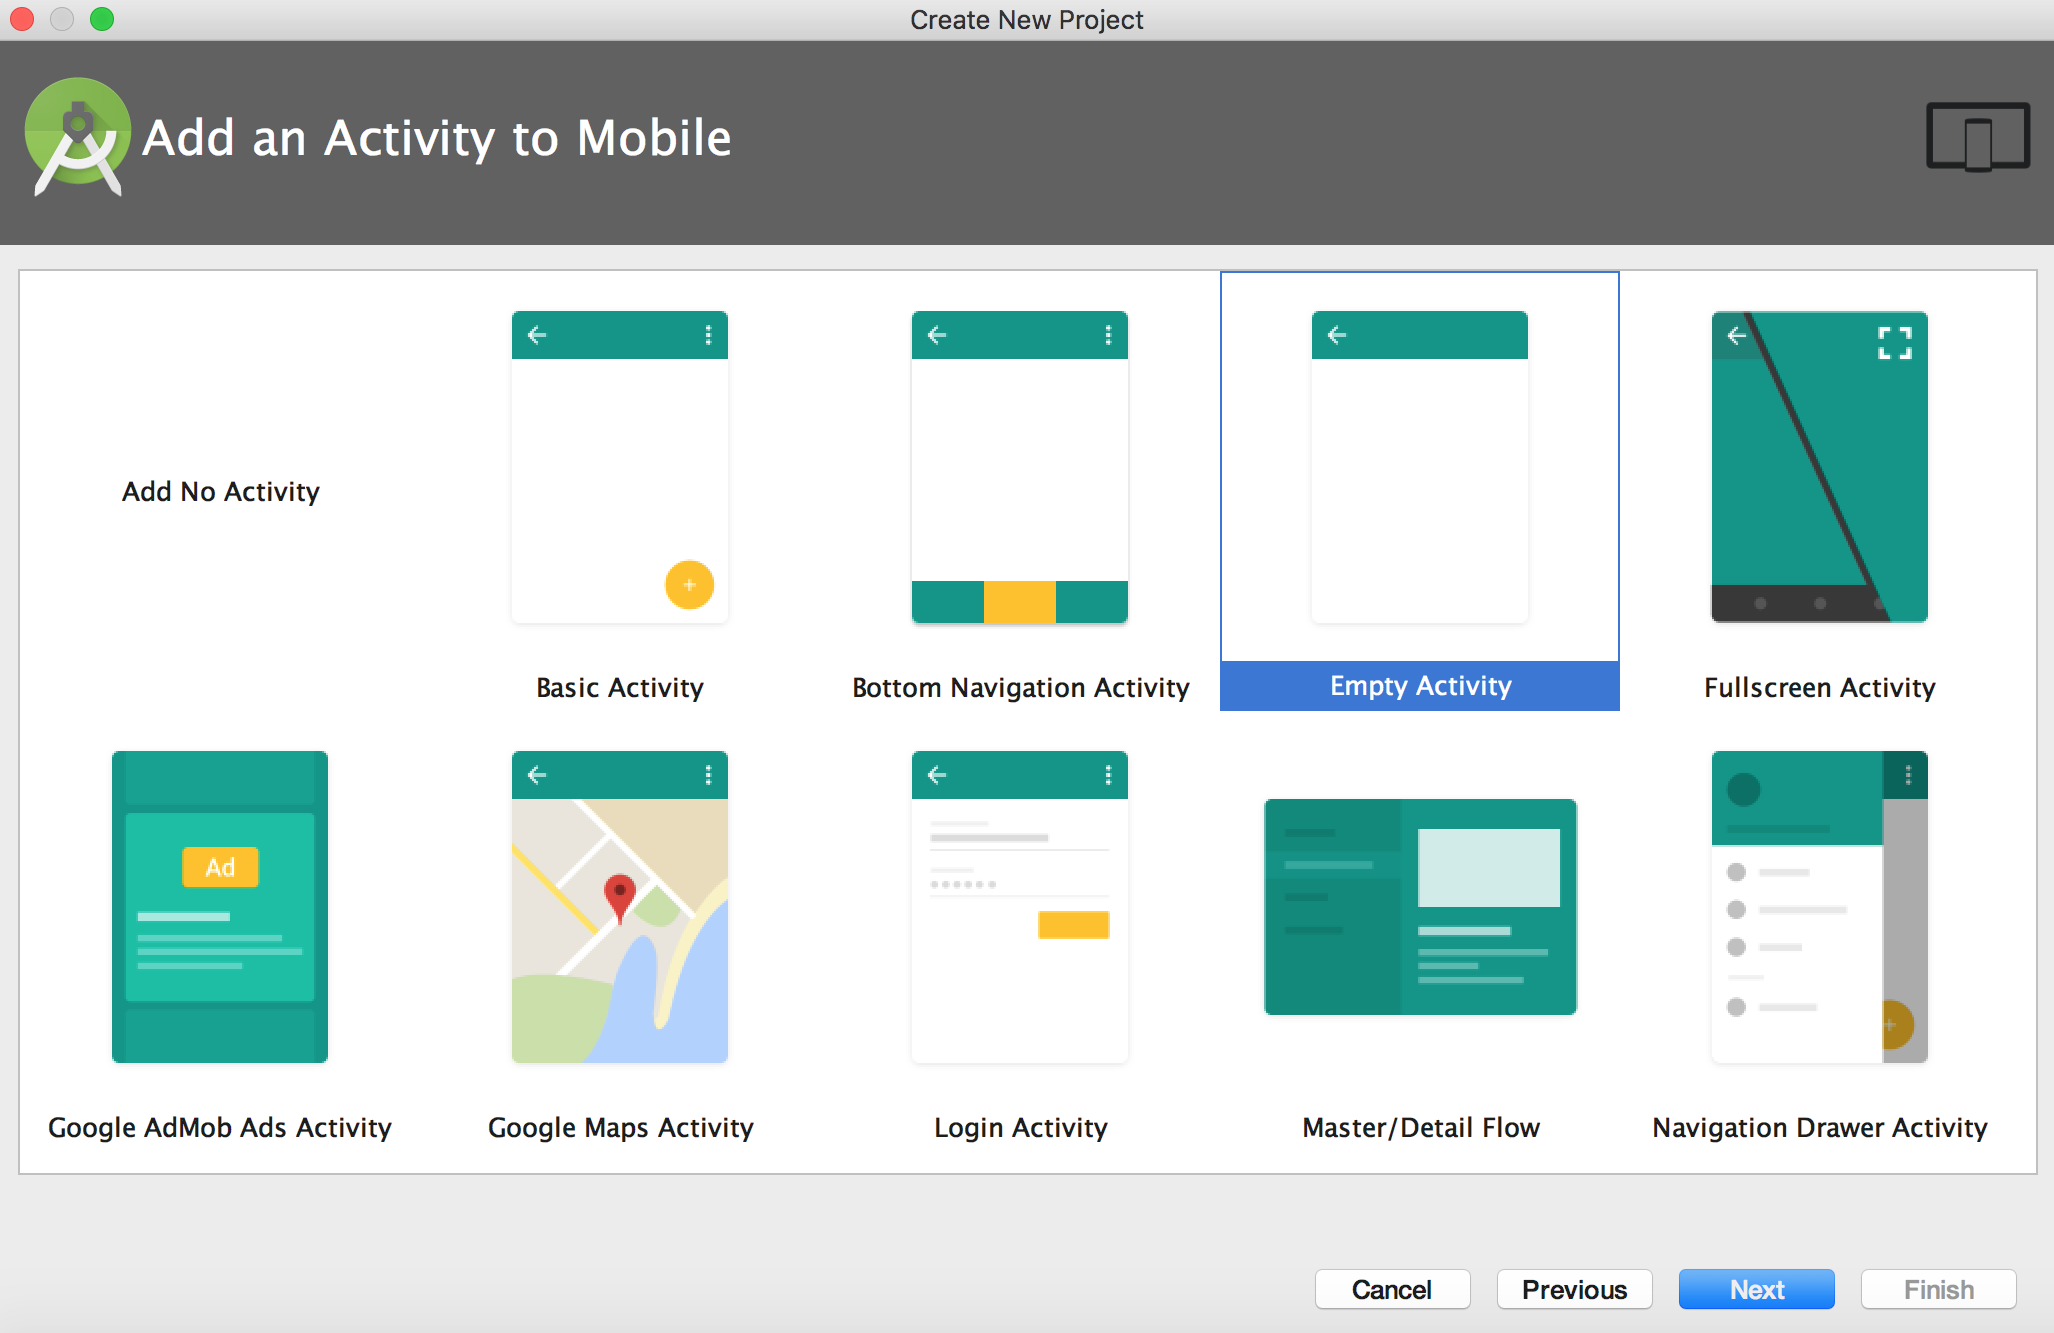
Select New Project and follow along with the New Project wizard. You can feel free to give your new app any name you like. Then, select your target devices and when prompted with the Add Activity screen, select “Empty Activity”:
Then name it “MainActivity”. This activity will hold the code that we’ll write to access the camera and save the picture. Then we’ll use File Provider to pass the URI to the next activity which we’ll create now.
To add another activity right click on your project name (this example project is called com.example.carmakemodelapp) and add a new empty activity called “CarRecognitionActivity”.
This activity will be used when we call the algorithm and render the results.
Now before we get started coding, we need to set up the rest of our project.
Settings, Permissions, & API Key
Follow the steps below to make sure you have the dependencies, permissions, and your API key set as needed.
Note that if you forked the repo, you will have everything you need except for you’ll need to add your API key.
Step One: Dependencies
Add the Algorithmia client to your app in the dependencies section of app/build.gradle, like so:
dependencies {
    ...
    compile "com.algorithmia:algorithmia-android:1.0.1"
    ...
}
Step Two: Internet Permissions
To ensure that you can access the Internet and the Camera2 API from the app, you’ll specify these permissions in “AndroidManifest.xml”:
<uses-feature android:name="android.hardware.camera2"/>
<uses-permission android:name="android.permission.INTERNET" />
Also go ahead and add a blank activity with the name “.CarRecognitionActivity” which we’ll use a bit later on:
        <activity android:name=".CarRecognitionActivity">

        </activity>
Next, because we want to use FileProvider to ensure we are passing around files securely, you’ll need to add this to your “AndroidManifest.xml” at the bottom of your manifest file:
<provider
    android:name="android.support.v4.content.FileProvider"
    android:authorities="@string/file_provider_authority"
    android:exported="false"
    android:grantUriPermissions="true">
    <meta-data
        android:name="android.support.FILE_PROVIDER_PATHS"
        android:resource="@xml/file_provider_paths" />
</provider>
Step Three: API Key
In “strings.xml”, replace the demo API key with your API key, which can be found under the credentials section of your profile on the Algorithmia website. Also make sure the file provider authority string is set to your package name. For more information on File Provider check out the Android Docs.
<resources>
    <string name="file_provider_authority" translatable="false">com.example.carmakemodelapp.fileprovider</string>
    <string name="algorithmia_api_key">YOUR_API_KEY</string>
</resources>
Make sure you’ve replaced YOUR_API_KEY with the API key under your account so that the Algorithmia client can authenticate!
Next create a folder called “xml” under your “res” folder so the file provider can find your image. Then add a file called “file_provider_paths.xml” and copy and paste the following:
<?xml version="1.0" encoding="utf-8"?>
<paths>
    <external-path
        name="external_files" path="." />
</paths>
Adding layouts to the app
Here we’ll add some UI elements. In the file “res/layout/activity_main.xml” add the following Layout and Button.
You can also do this through the visual editor, but since we just have a few simple things to add to the layout we’ll add them to the xml:
<?xml version="1.0" encoding="utf-8"?>
    <RelativeLayout xmlns:android="http://schemas.android.com/apk/res/android"
        xmlns:tools="http://schemas.android.com/tools"
        android:layout_width="match_parent"
        android:layout_height="match_parent"
        android:paddingBottom="16dp"
        android:paddingLeft="16dp"
        android:paddingRight="16dp"
        android:paddingTop="16dp"
        tools:context="com.example.carmakemodelapp.MainActivity">

        <Button
            android:id="@+id/takePhoto"
            android:layout_width="wrap_content"
            android:layout_height="48dp"
            android:layout_alignParentBottom="true"
            android:layout_centerHorizontal="true"
            android:background="@drawable/button_colors"
            android:padding="5dp"
            android:onClick="takePhoto"
            android:text="Pic Please!"
            android:textColor="@color/colorAccent" />

    </RelativeLayout>
Now, in the file “res/layout/activity_car_results.xml” add:
<?xml version="1.0" encoding="utf-8"?>
<RelativeLayout xmlns:android="http://schemas.android.com/apk/res/android"
    xmlns:tools="http://schemas.android.com/tools"
    android:layout_width="match_parent"
    android:layout_height="match_parent"
    tools:context="com.example.carmakemodelapp.MainActivity">

    <Button
        android:id="@+id/algo_run"
        android:layout_width="wrap_content"
        android:layout_height="wrap_content"
        android:onClick="onClickRun"
        android:background="@drawable/button_colors"
        android:padding="5dp"
        android:text="Find Make and Model of Car"
        android:textColor="@color/colorAccent"
        android:layout_centerVertical="true"
        android:layout_centerHorizontal="true" />

    <TextView
        android:id="@+id/algo_output"
        android:layout_width="wrap_content"
        android:layout_height="wrap_content" />

</RelativeLayout>
Note that if you don’t have those files already under res/layout please add them.
Finally if you don’t have it already, create a file under the drawable folder called “button_colors.xml” and place this in the file:
<?xml version="1.0" encoding="utf-8"?>
<selector xmlns:android="http://schemas.android.com/apk/res/android">
    <item android:drawable="@color/colorAccent" android:state_pressed="true"/>
    <item android:drawable="@color/colorPrimary"/>
</selector>
Let’s code!
First, go to “MainActivity.java” and paste in the code below if you haven’t forked the project from GitHub. We’ll go through it chunk by chunk so you understand what’s happening.
Note, that if you haven’t forked the project, you can copy and paste the imports from the repo as we skip them for the sake of brevity in the example below.
public class MainActivity extends AppCompatActivity {

    public static final String TAG = MainActivity.class.getSimpleName();
    public static final int REQUEST_TAKE_PHOTO = 0;
    private Uri imageUri;

    @Override
    protected void onCreate(Bundle savedInstanceState) {
        super.onCreate(savedInstanceState);
        setContentView(R.layout.activity_main);
    }

    private boolean isExternalStorageAvailable() {
        // Get state of external storage
        String state = Environment.getExternalStorageState();
        if(Environment.MEDIA_MOUNTED.equals(state)) {
            return true;
        } else {
            return false;
        }
    }

    private Uri getOutputMediaFileUri() {
        // Check for external storage & create file if storage exists
        if (isExternalStorageAvailable()) {
            File path = getExternalFilesDir(Environment.DIRECTORY_PICTURES);
            // Timestamp for unique file name
            String fileName = "";
            String fileType = "";
            String timeStamp = new SimpleDateFormat("yyyyMMdd_HHmmss").format(new Date());

            fileName = "pic_" + timeStamp;
            fileType = ".jpg";

            String imageName = fileName + fileType;

            File imageFile = new File(path, imageName);

            try {
                Uri picURI = FileProvider.getUriForFile(MainActivity.this,
                        getString(R.string.file_provider_authority), imageFile);
                System.out.println("picURI");
                System.out.println(picURI);
                return picURI;
            } catch (Exception e) {
                Log.w(TAG, "Error creating file e", e);
            }
        }
        return null;
    }

    public void takePhoto(View v) {
        // Create intent to take pic.
        Intent takePhotoIntent = new Intent(MediaStore.ACTION_IMAGE_CAPTURE);
        if (takePhotoIntent.resolveActivity(getPackageManager()) != null) {
            // The file with timestamp that was just created
            imageUri = getOutputMediaFileUri();
            // Save image to file location using MediaStore.EXTRA_OUTPUT instead
            // of saving as thumbnail.
            takePhotoIntent.putExtra(MediaStore.EXTRA_OUTPUT, imageUri);
            // Start first activity to take pic, passing in 0 as request code
            startActivityForResult(takePhotoIntent, REQUEST_TAKE_PHOTO);
        }

    }

    @Override
    protected void onActivityResult(int requestCode, int resultCode, Intent data){
        // Callback that receives intent results from takePhoto
        super.onActivityResult(requestCode, resultCode, data);

        try {
            if (requestCode == REQUEST_TAKE_PHOTO) {
                // Create a new intent to get the data from algorithm call.
                Intent intent = new Intent(this, CarRecognitionActivity.class);
                intent.setType("image/jpg")
                        .setAction(Intent.ACTION_GET_CONTENT)
                        .addCategory(Intent.CATEGORY_OPENABLE);

                intent.setData(imageUri);
                startActivity(intent);

            }
        } catch (Exception e){
            Log.w(TAG, e);
        }
    }

}
Now let’s go through the code.
Directly inside our “MainActivity” class, notice the onCreate method where we initialize our view: “setContentView(R.layout.activity_main)”. This will display our button for taking a picture.
In the “getOutputMediaFileUri” method we check External Storage state and if available, we create a timestamped file and pass some arguments into FileProvider.getUriForFile() method.
First arg is our application context (MainActivity.this), then the authority that we set in our Manifest file that allows for URI permissions (R.string.file_provider_authority), and finally the timestamped file that we just created.
If we print out the URI we created, it looks like this:
content://com.example.carmakemodelapp.fileprovider/external_files/Android/data/com.example.carmakemodelapp/files/Pictures/pic_20171016_115903.jpgNext is the “takePhoto” method, where we create our first Intent to take an image.
The first argument in our Intent’s “.putExtra” method, is the “MediaStore.EXTRA_OUTPUT”, while the second argument is the URI. This is because we don’t want to save the thumbnail of the image, but instead we want to use a content-resolver URI to store the data. That way we can later pass it into our algorithm.
Now we use “startActivityForResult” which takes our Intent and our request code that we set to 0 in the beginning of our code sample.
Finally we’ll look at the “onActivityResult” method where we create another Intent that references our “CarRecognitionActivity” Activity. Here we’ll set the data for this Intent to our image URI we created in “getOutputMediaFileUri()” and start the activity.
Now we need to look at our next Activity that we created when setting up our app called: “CarRecognitionActivity”:
public class CarRecognitionActivity extends MainActivity {

    public static final String TAG = CarRecognitionActivity.class.getSimpleName();
    private TextView algoOutput;
    private byte[] imageByte;

    @Override
    protected void onCreate(Bundle savedInstanceState) {
        super.onCreate(savedInstanceState);
        setContentView(R.layout.activity_car_results);

        Intent dataIntent = getIntent();
        Uri imageUri = dataIntent.getData();
        Context context = CarRecognitionActivity.this.getApplicationContext();
        ContentResolver contentResolver = context.getContentResolver();

        try {
            if (imageUri != null) {
                InputStream inputStream = contentResolver.openInputStream(imageUri);
                Bitmap imageBitmap = BitmapFactory.decodeStream(inputStream);
                imageByte = bitmapToByteArray(imageBitmap);

            }
        } catch(FileNotFoundException e){
            Log.w(TAG, e);
        }
    }

    public void onClickRun(View v) {
        Toast.makeText(this, "Please wait for results...", Toast.LENGTH_LONG).show();
        algoOutput = (TextView) findViewById(R.id.algo_output);
        AsyncTask<Void, Void, AlgoResponse> fail = new AsyncTask<Void, Void, AlgoResponse>() {

            @Override
            protected AlgoResponse doInBackground(Void... params) {
                try {
                    AlgorithmiaClient client = Algorithmia.client(getString(R.string.algorithmia_api_key));
                    DataDirectory imageDir = client.dir("data://.my/testing");
                    // Upload byteArray to Algorithmia's hosted data
                    imageDir.file("myImage.jpg").put(imageByte);
                    DataFile carImage = imageDir.file("myImage.jpg");
                    String imageString = carImage.toString();
                    // Set timeout to 5 minutes
                    long i = 300L;
                    Algorithm algorithm = client.algo("algo://LgoBE/CarMakeandModelRecognition/0.3.9").setTimeout(i, TimeUnit.MINUTES);
                    AlgoResponse response = algorithm.pipe(imageString);
                    return response;
                } catch (Exception e) {
                    return new AlgoFailure(new AlgorithmException(e));
                }
            }

            @Override
            protected void onPostExecute(AlgoResponse response) {
                if (response == null) {
                    algoOutput.setText("Algorithm Error: network connection failed");
                } else if (response.isSuccess()) {

                    AlgoSuccess success = (AlgoSuccess) response;
                    try {
                        algoOutput.setText(success.asJsonString());
                    } catch (Exception e) {
                        Log.w(TAG, e);
                    }
                } else {
                    AlgoFailure failure = (AlgoFailure) response;
                    algoOutput.setText("Algorithm Error: " + failure.error);
                }
            }
        }.execute();
    }

    private byte[] bitmapToByteArray(Bitmap bitmap) {
        ByteArrayOutputStream byteArrayOutputStream = new ByteArrayOutputStream();
        bitmap.compress(Bitmap.CompressFormat.JPEG, 100, byteArrayOutputStream);
        byte[] byteArray = byteArrayOutputStream .toByteArray();
        return byteArray;
    }

}
Now let’s go through the code above starting with the “onCreate” method. Again we are setting our view with “setContentView()”, but this time we are passing in the view from “activity_car_results.xml” that has a new button saying “Find Make and Model of Car” which we need to call our algorithm.
Next, we create a new Intent to tell our app we are about to perform some operation, which in our case, is to get our data from the content provider with ContentResolver.
Moving through the code, if you check inside the try/catch, you’ll notice that we are using streams to get our data, and then we pass the image to BitmapFactory.decodeFileDescriptor.
Next we need to transform the bitmap image into a byteArray. Then, because our algorithm takes only URL’s we’ll be using Algorithmia’s hosted data to upload our image to Algorithmia to get the URL to pass into the Car Make and Model algorithm.
Note that you can also use Dropbox or Amazon S3 to host your data.
Finally, our last method is “onClickRun” where we set our TextView and use an AsyncTask to call our algorithm.
In the doInBackground method we create our Algorithmia Client and pass in our API string from our “res/values/strings.xml”.
We then create a DataDirectory object that references a directory in your data collection. If you haven’t used Data sources check out our Android Client Guide.
Remember to replace “YOUR_DATA_COLLECTION” in DataDirectory imageDir = client.dir("data://.my/YOUR_DATA_COLLECTION"); with your own data collection name from one of our Data Sources.
Now we upload our byteArray to our data collection in a file called “myImage.jpg” and then immediately download the file path. Then we call the algorithm and use the “pipe()” method to pass in our data URL to the Car Make and Model algorithm. The reason why we do this is because algorithms don’t accept data uploaded from just any data source like a local file.
In “onPostExecute()” we’ll handle the algorithm response. All we are doing here is handling a null case and when we get an “AlgoSuccess” response, we get that as a JSON string and set the view’s text to show the algorithm’s response. Then, we have some error handling in case our algorithm call isn’t successful!
And here is the result when we run our app, take a picture and run the algorithma:
[{“body_style”:”Coupe”, “confidence”:”0.61”, “make”:”Audi”, “model”:”A5”, “model_year”:”2016”}]