 Scikit-Learn
Welcome to deploying your scikit-learn model on Algorithmia!
This guide is designed as an introduction to deploying a scikit-learn model and publishing an algorithm even if you’ve never used Algorithmia before.
Note: this guide uses the web UI to create and deploy your Algorithm. If you prefer a code-only approach to deployment, review Algorithm Management after reading this guide.
Table of Contents
Prerequisites
Before you get started hosting your model on Algorithmia there are a few things you’ll want to do first:
Save your Pre-Trained Model
You’ll want to do the training and saving of your model on your local machine, or the platform you’re using for training, before you deploy it to production on the Algorithmia platform.
After training your Scikit-learn model, you’ll want to save the pickled model so you can upload it to Algorithmia.
Create a Data Collection
Host your data where you want and serve it to your model with Algorithmia’s Data API.
In this guide we’ll use Algorithmia’s Hosted Data Collection, but you can host it in S3 or Dropbox as well. Alternatively, if your data lies in a database, check out how we connected to a DynamoDB database.
First, you’ll want to create a data collection to host your pre-trained model.
-
Log into your Algorithmia account and create a data collection via the Data Collections page.
-
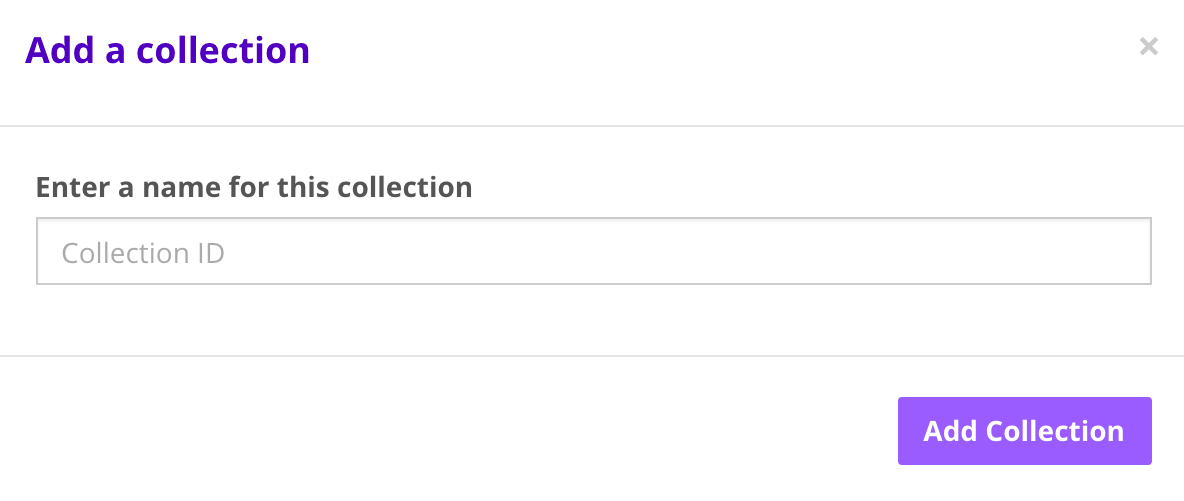
Click on “Add Collection” under the “My Collections” section.
-
After you create your collection you can set the read and write access on your data collection.
For more information check out: Data Collection Types.
Note, that you can also use the Data API to create data collections and upload files.
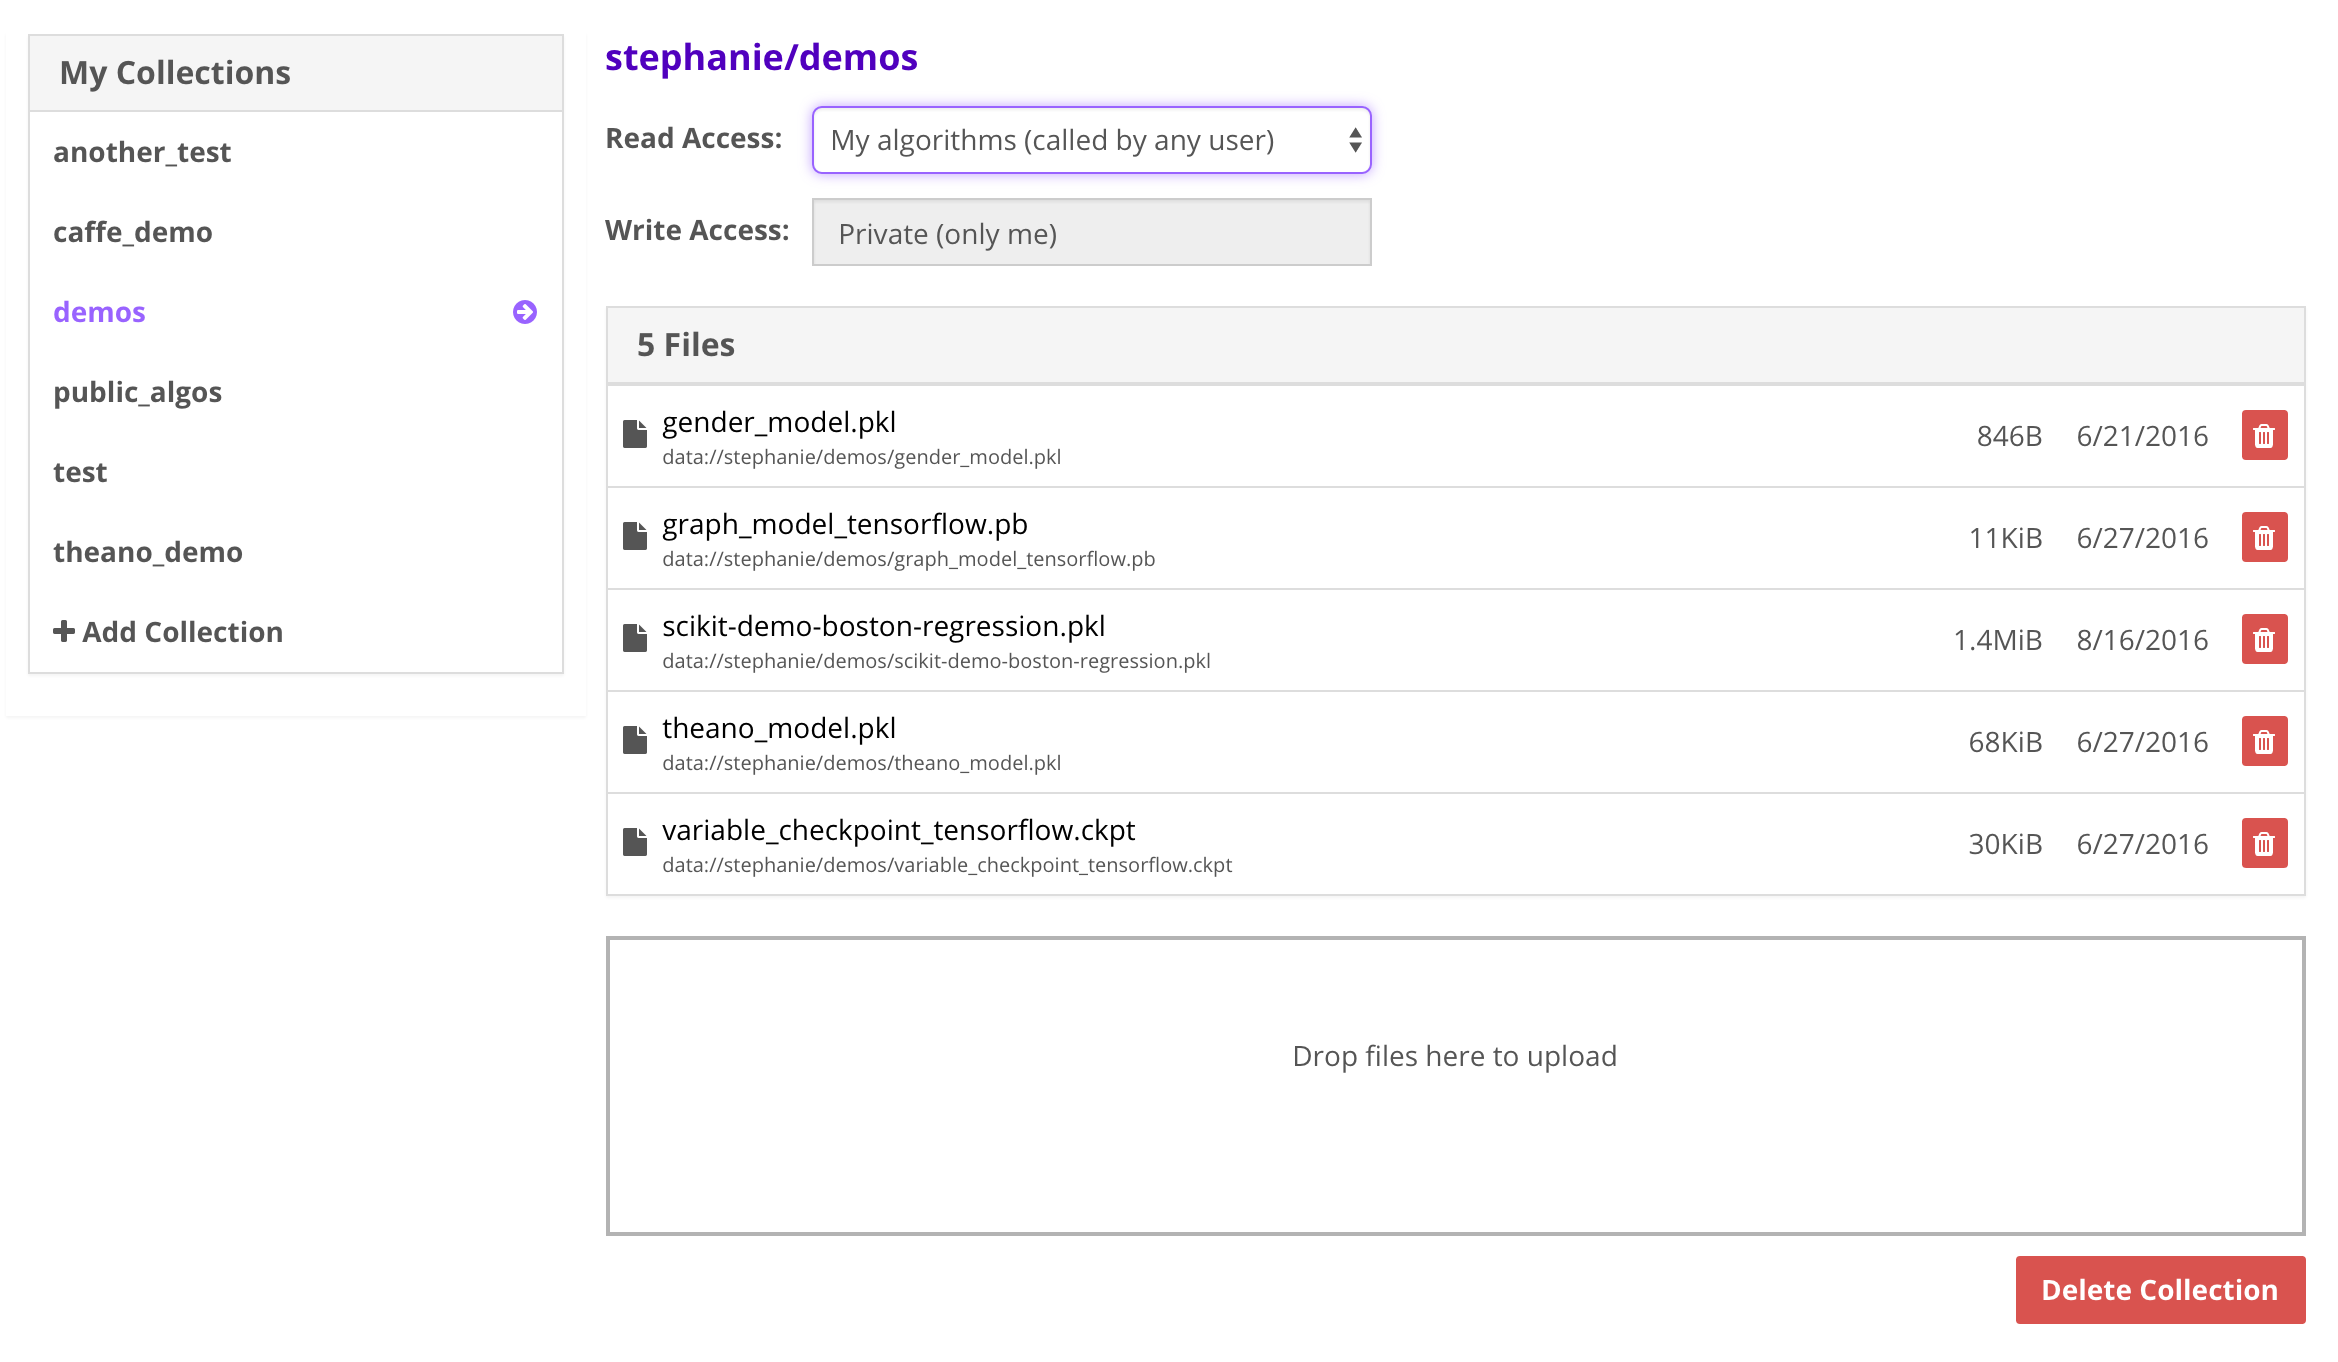
Host Your Model File
Next, upload your pickled model to your newly created data collection.
-
Load model by clicking box “Drop files here to upload”
-
Note the path to your files: data://username/collections_name/pickled_model.pkl
Create your Algorithm
Hopefully you’ve already followed along with the Getting Started Guide for algorithm development. If not, you might want to check it out in order to understand the various permission types, how to enable a GPU environment, and use the CLI.
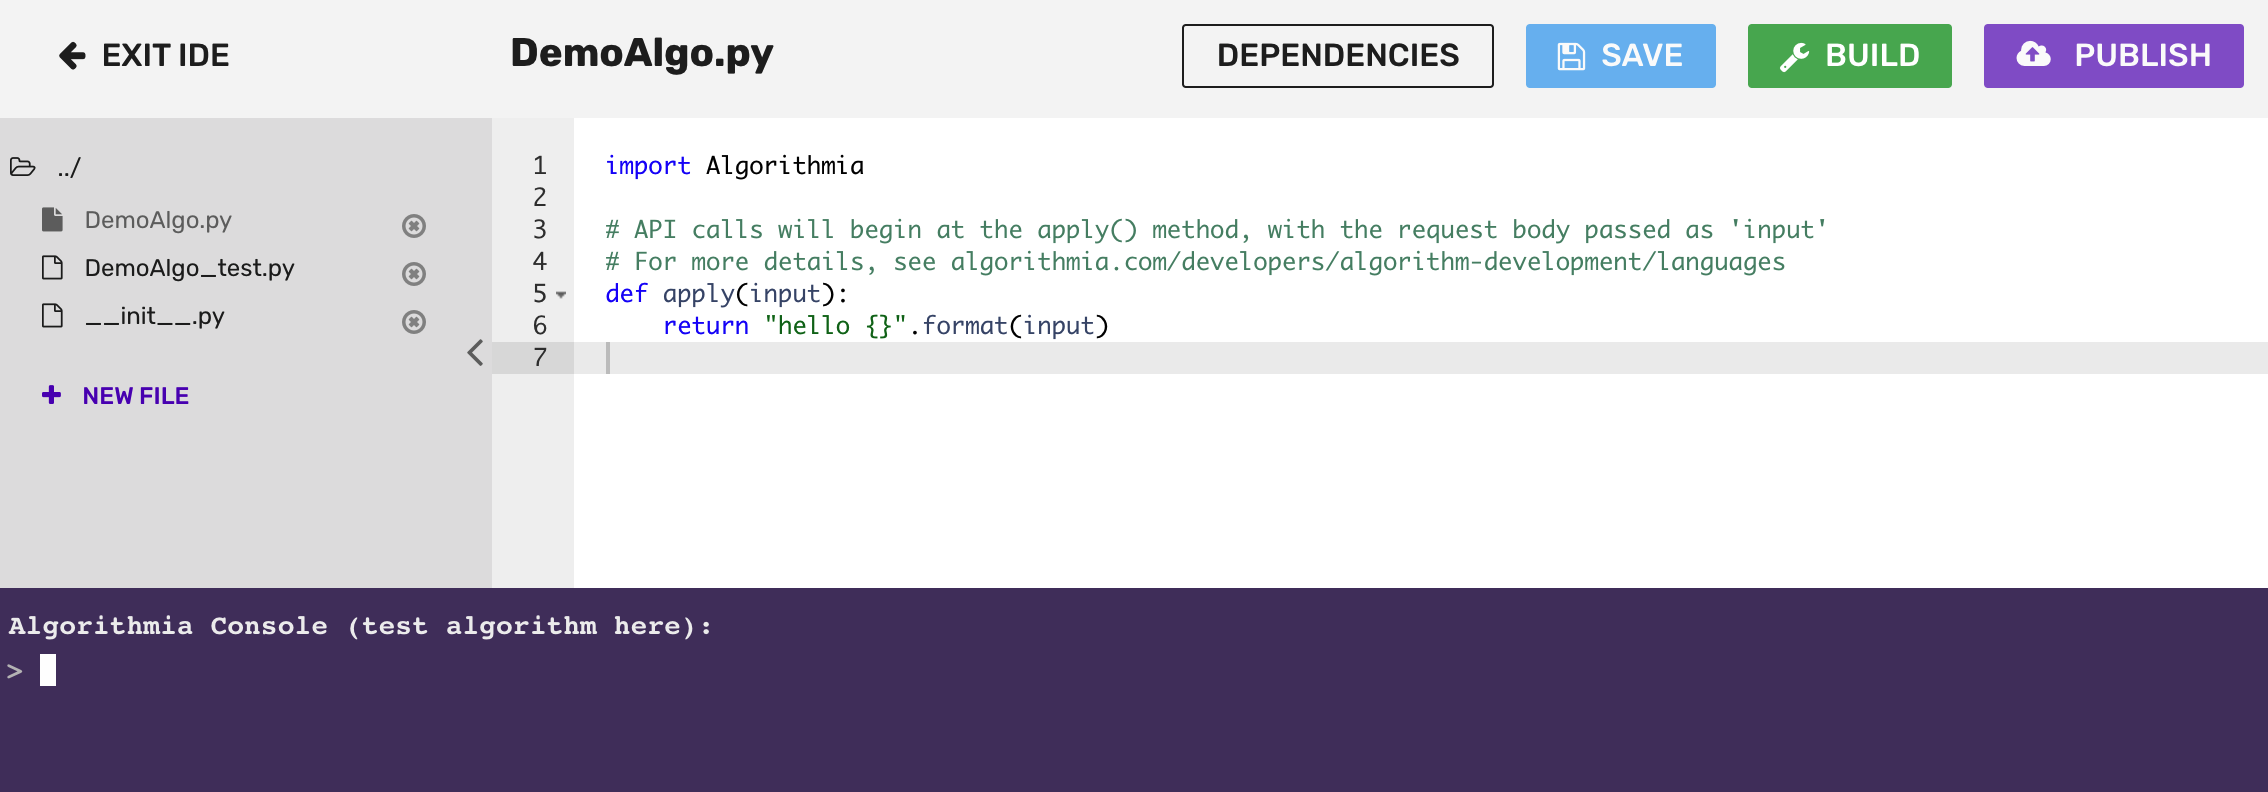
Once you’ve gone through the Getting Started Guide, you’ll notice that when you’ve created your algorithm, there is boilerplate code in the editor that returns “Hello” and whatever you input to the console.
The main thing to note about the algorithm is that it’s wrapped in the apply() function.
The apply() function defines the input point of the algorithm. We use the apply() function in order to make different algorithms standardized. This makes them easily chained and helps authors think about designing their algorithms in a way that makes them easy to leverage and predictable for end users.
Go ahead and remove the boilerplate code below that’s inside the apply() function on line 6, but leave the apply() function intact:
Set your Dependencies
Now is the time to set your dependencies that your model relies on.
- Click on the “Dependencies” button at the top right of the UI and list your packages under the required ones already listed and click “Save Dependencies” on the bottom right corner.
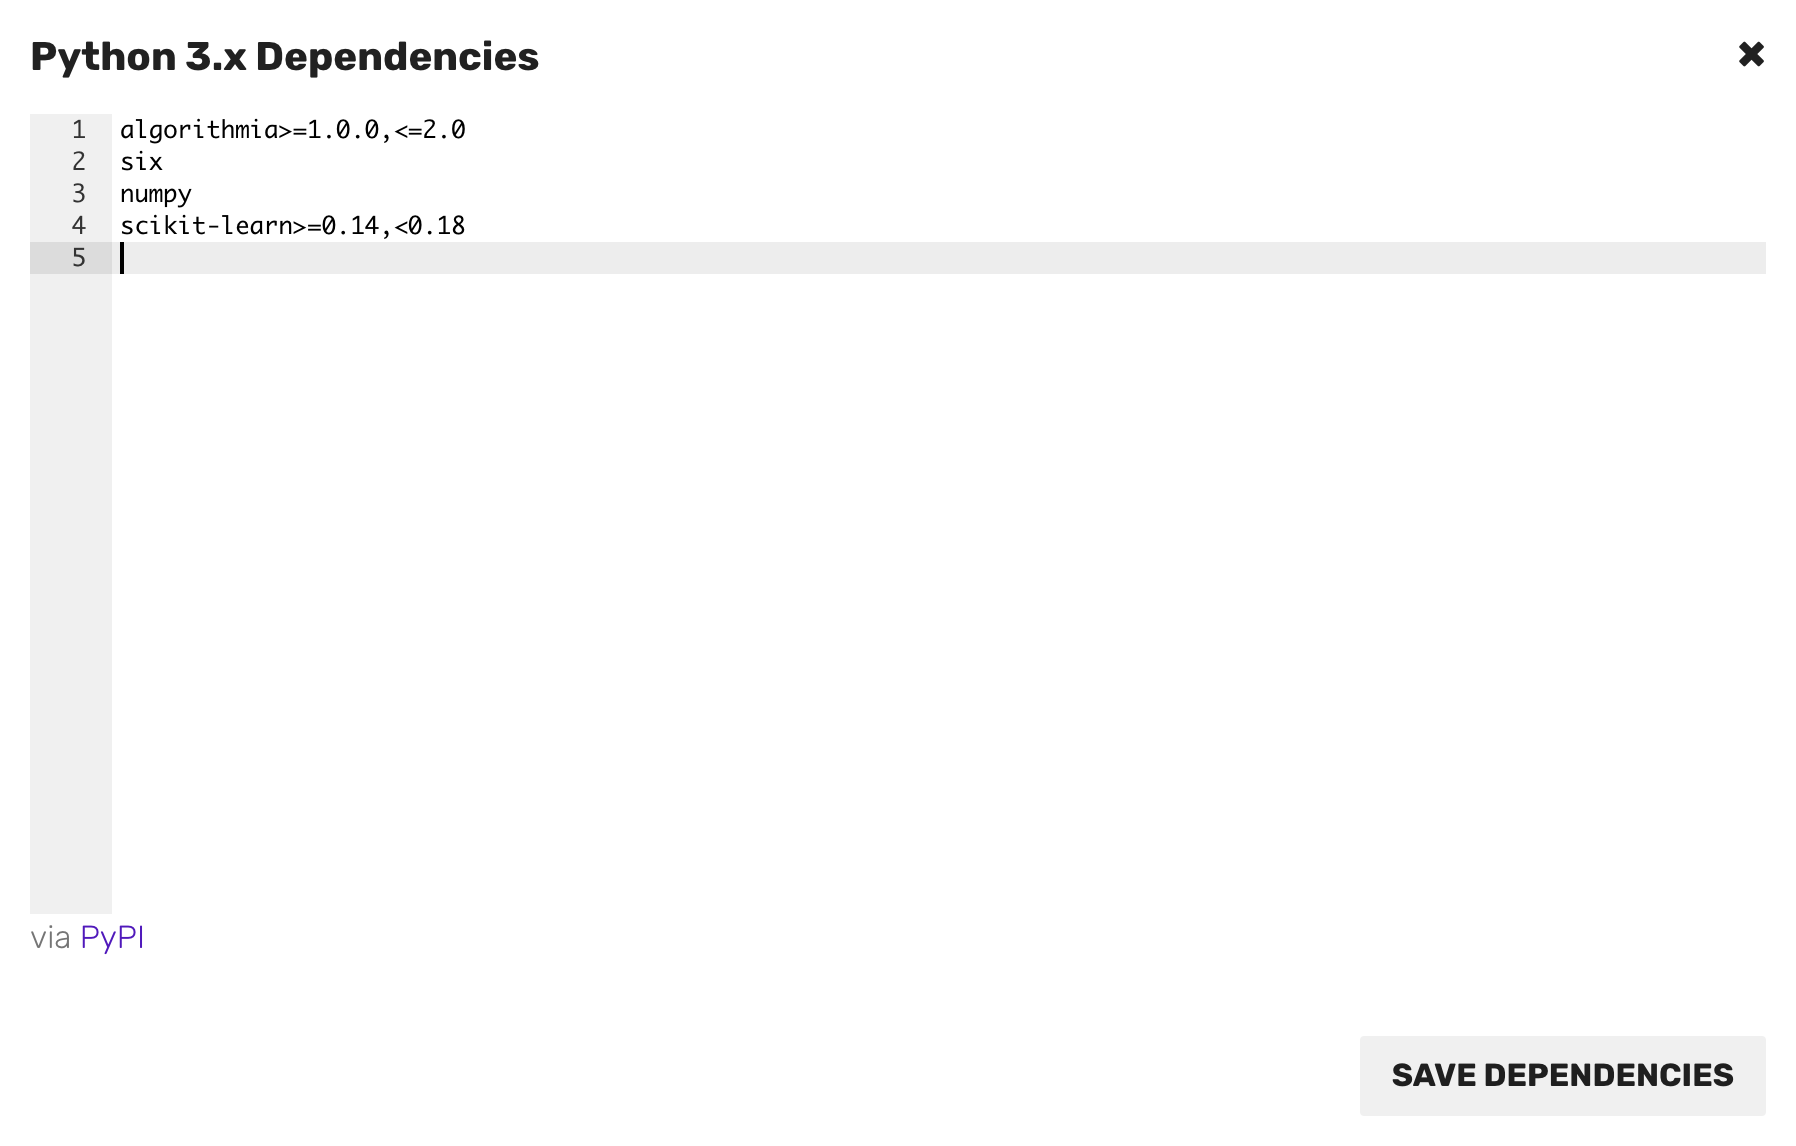
If you’re following along with this tutorial, go ahead and copy and paste the libraries listed into the dependency file, adding to the ones already there:
numpy
scikit-learn>=0.14,<0.18
The dependency file is the equivalent to a requirements.txt file which pulls the dependencies listed from PyPi.
Load your Model
Here is where you load and run your model which will be called by the apply() function.
When you load your model, our recommendation is to preload your model in a separate function external to the apply() function.
This is because when a model is first loaded it can take time to load depending on the file size.
Then, with all subsequent calls only the apply() function gets called which will be much faster since your model is already loaded.
If you are authoring an algorithm, avoid using the ‘.my’ pseudonym in the source code. When the algorithm is executed, ‘.my’ will be interpreted as the user name of the user who called the algorithm, rather than the author’s user name.
Note that you always want to create valid JSON input and output in your algorithm. For examples see the Algorithm Development Guides.
Now to check out a code example using the Random Forest Regressor to build a prediction model in Scikit-learn. If you want to follow along, go ahead and use this dataset from Sckit-Learn.
Example Hosted Model:
import sys
import pickle
import csv
import numpy as np
import Algorithmia

from sklearn.datasets import load_boston
from sklearn.ensemble import RandomForestRegressor

client = Algorithmia.client()

def load_model():
    # Get file by name
    # Open file and load model
    file_path = 'data://YOUR_USERNAME/YOUR_DATACOLLECTION/scikit-demo-boston-regression.pkl'
    model_path = client.file(file_path).getFile().name
    # Open file and load model
    with open(model_path, 'rb') as f:
        model = pickle.load(f)
        return model

# Load model outside of the apply function so it only gets loaded once
model = load_model()

def process_input(input):
    # Create numpy array from csv file passed as input in apply()
    if input.startswith('data:'):
        file_url = client.file(input).getFile().name
        try:
            np_array = np.genfromtxt(file_url, delimiter=',')
            print(np_array)
            return np_array
        except Exception as e:
            print("Could not create numpy array from data", e)
            sys.exit(0)

def apply(input):
    # Input should be a csv file - model is trained on Sklearn
    # Boston housing dataset using RandomForestRegressor
    np_data = process_input(input)
    prediction = model.predict(np_data)
    return list(prediction)
Now when you run this code, the expected input is:
"data://YOUR_USERNAME/YOUR_DATA_COLLECTION/boston_test_data.csv"A sample of the expected output:
[
  "$34,607.00",
  "$25,830.00",
  "$42,303.00",
  "$47,816.00"
]
Publish your Algorithm
Last is publishing your algorithm. The best part of deploying your model on Algorithmia is that users can access it via an API that takes only a few lines of code to use! Here is what you can set when publishing your algorithm:
On the upper right hand side of the algorithm page you’ll see a purple button “Publish” which will bring up a modal:
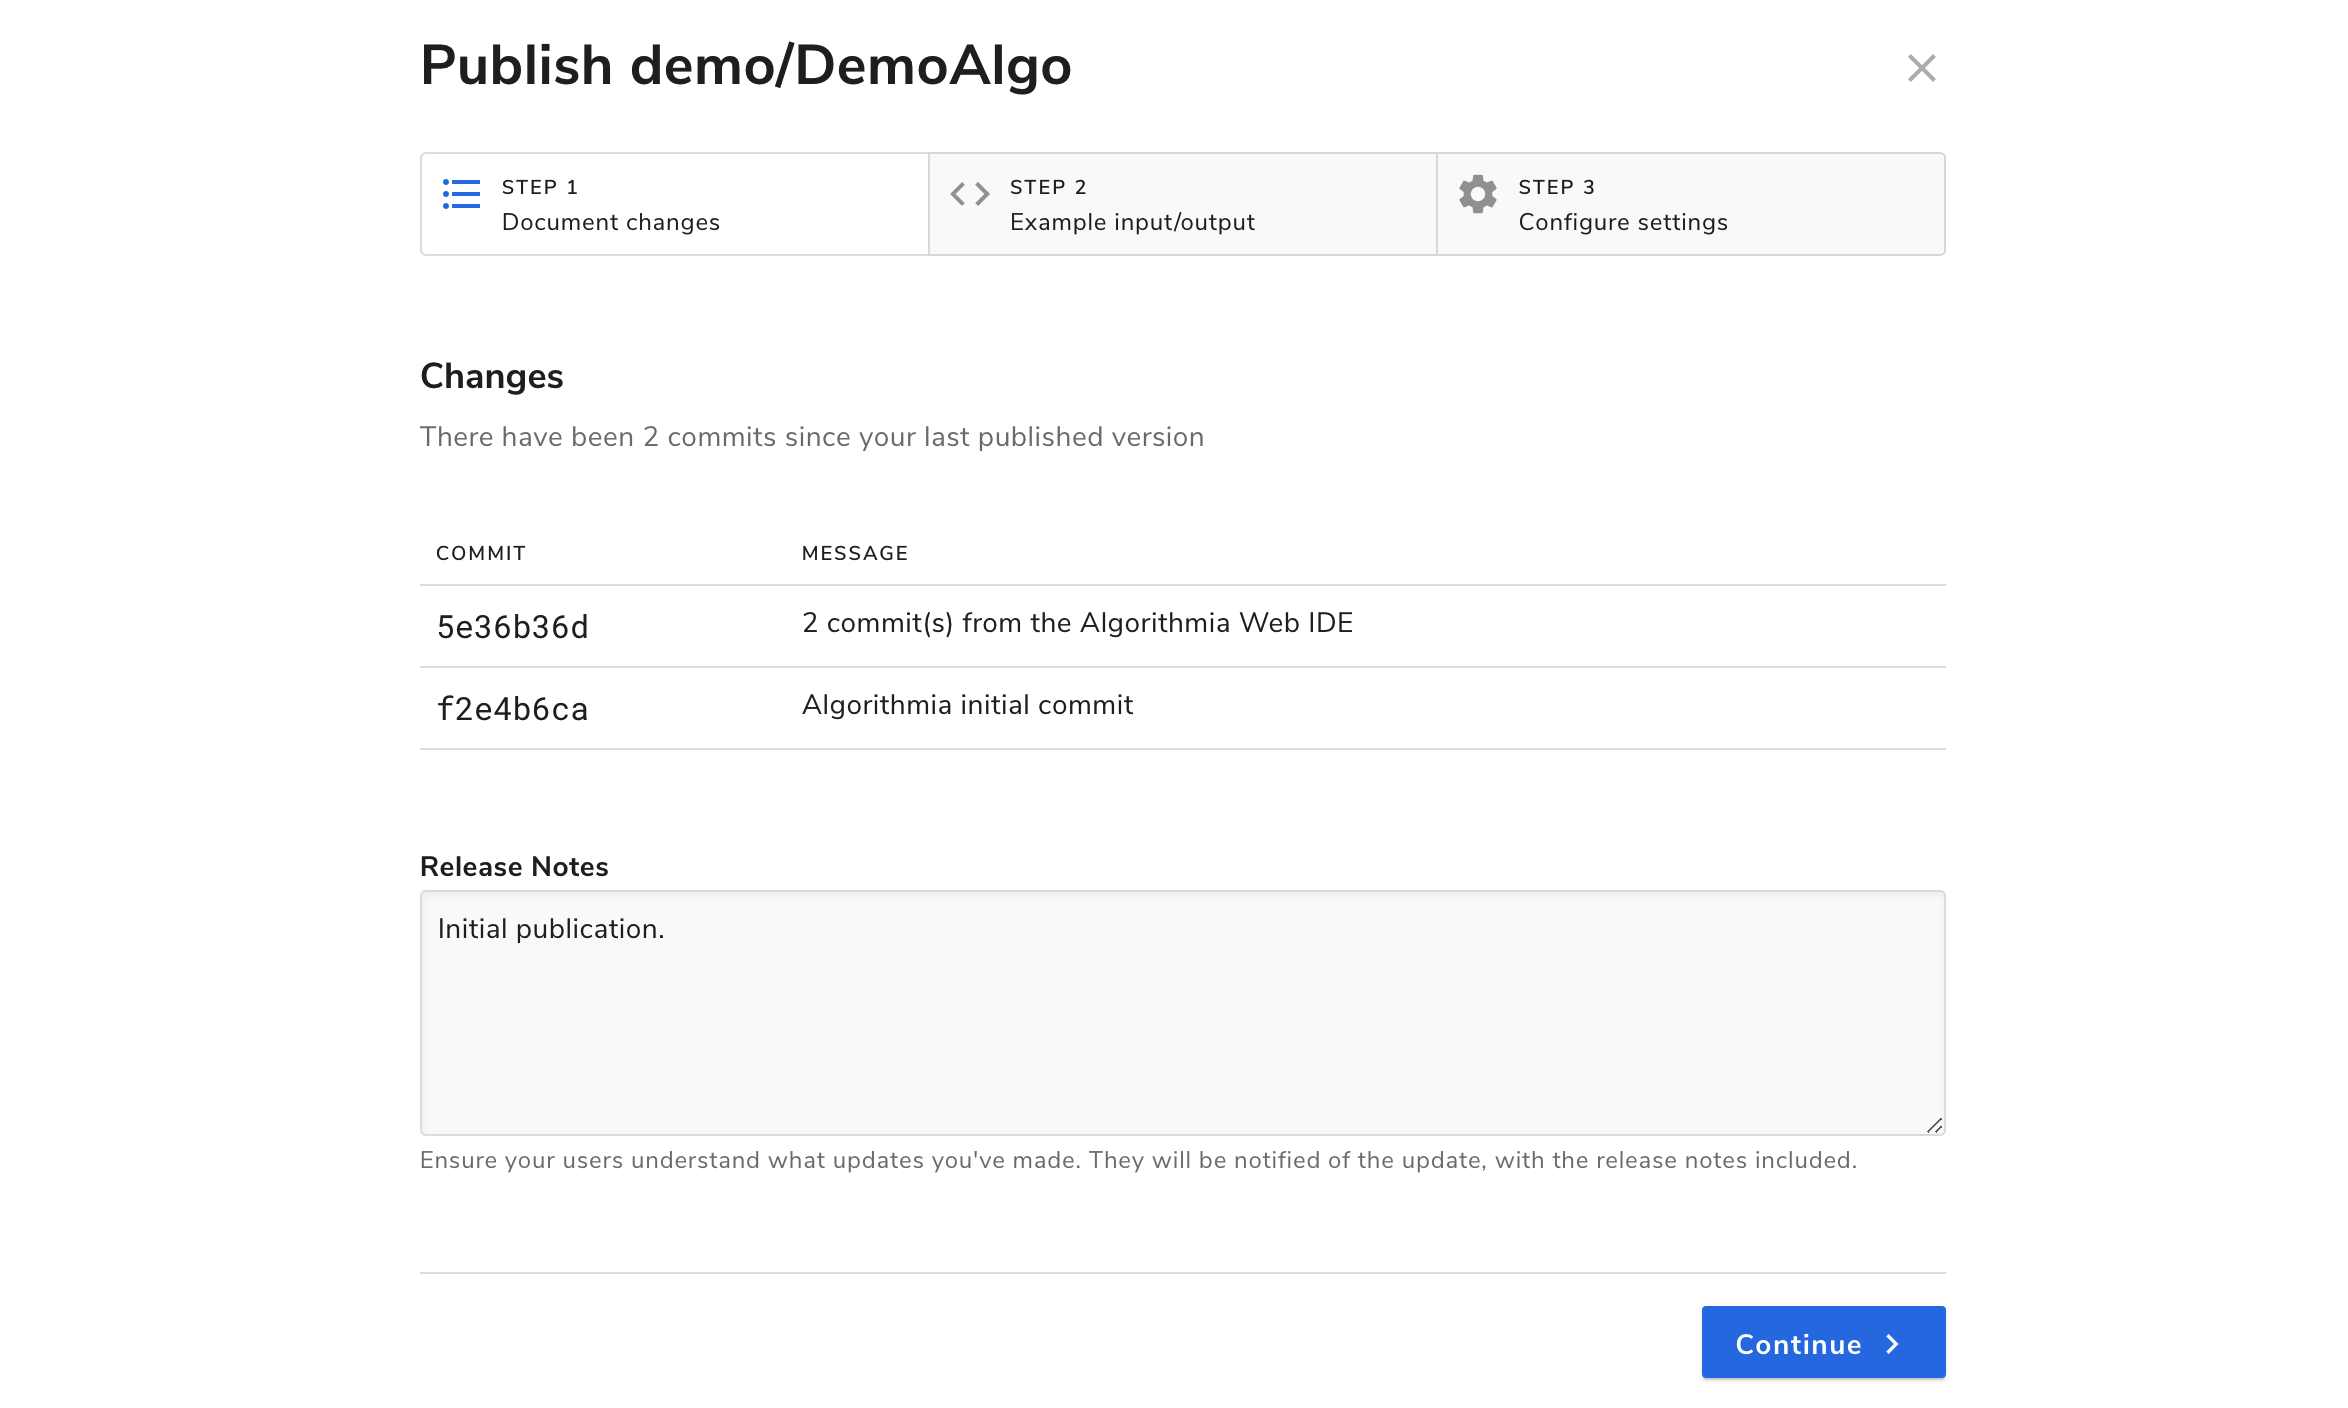
In this modal, you’ll see a Changes tab, a Sample I/O tab, and one called Versioning.
If you don’t recall from the Getting Started Guide how to go through the process of publishing your model, check that out before you finish publishing.
For more information and detailed steps: creating and publishing your algorithm
Working Demo
If you would like to check this demo out on the platform you can find it here: Scikit-Learn-demo
That’s it for hosting your scikit-learn model on Algorithmia!